Canine Tutorial

Canine Tutorial
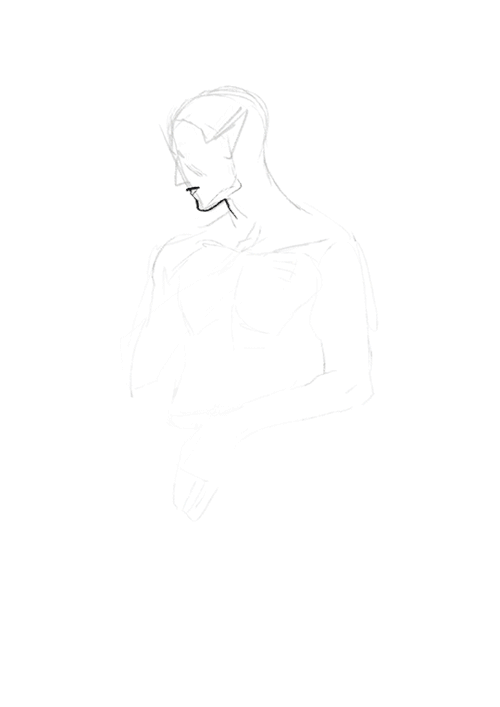
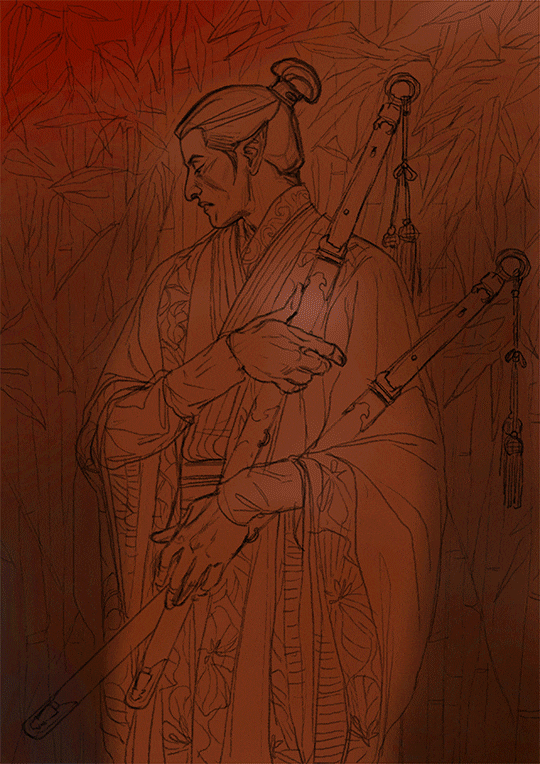
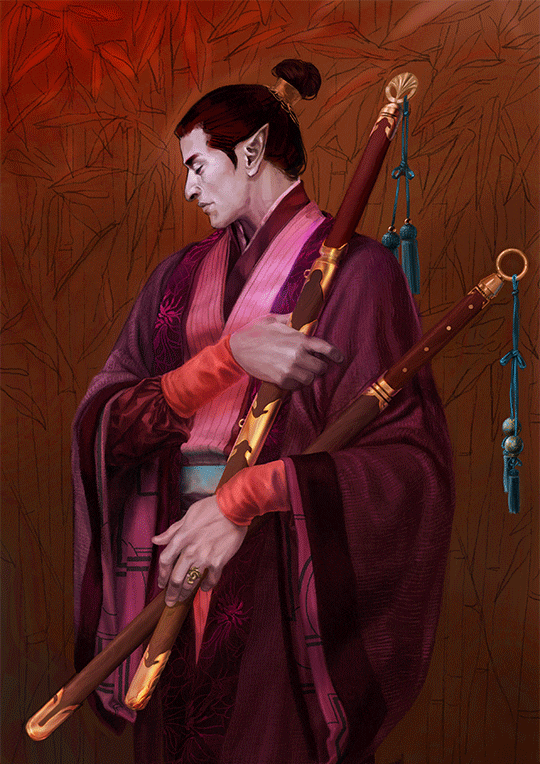
Artist: Jacinda (TheShadowedGrim)
More Posts from Arttuti and Others

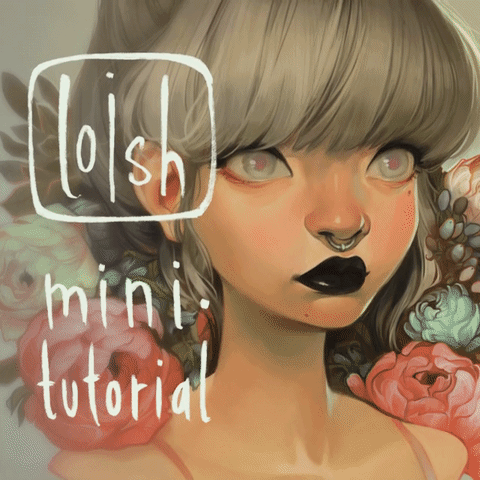

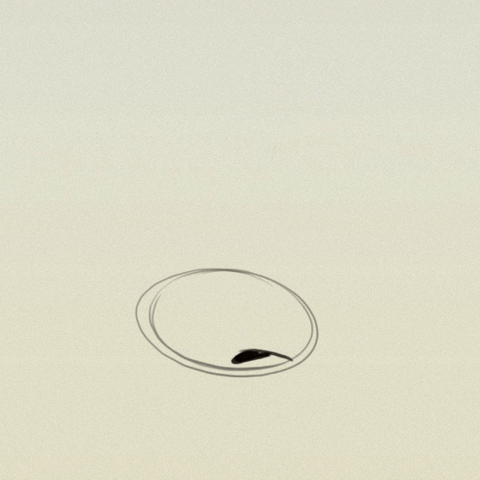
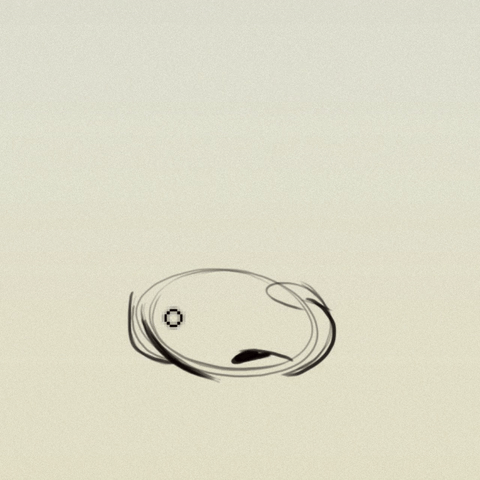
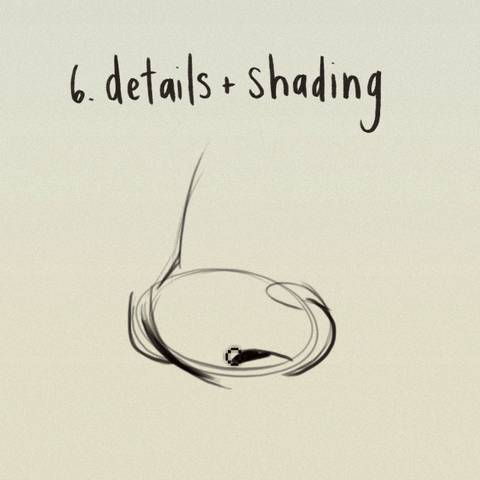

more mini tutorial gifsets :) for the video version check out https://www.instagram.com/p/BGZfej3R_OM/?taken-by=loisvb
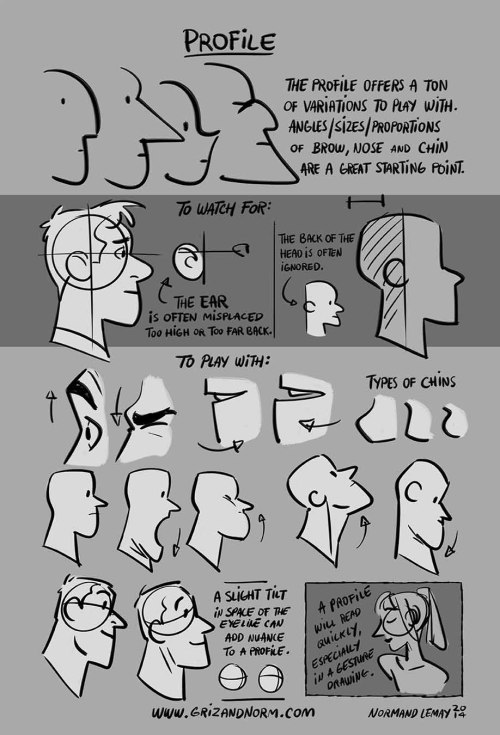
Tuesday Tips - The Face Profile Something I use all the time when I storyboard. The profile is simple, direct, and conveys a lot of information about a character. A great deal of facial features are easier to define in a profile, such as the nose and mouth shapes. Use it to your advantage! It’s really useful when thumbnailing or doing gesture drawing. -Norm
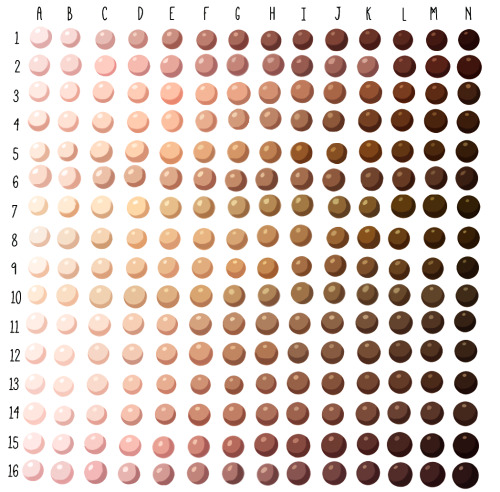
Skin tone swatches, for use as a resource.
Spudfuzz on Deviantart made the original resource, which I modified to be a bit more realistic. She gave me permission to post this.
☛These swatches, like all art resources, should be used as a “jumping off point!” All colours are relative, and change with lighting conditions. As they are now, these swatches work best for adoptables, character lineups, and other art where local colour is important. ☚
[DA]
you're really good at painting clothes so! i was wondering if its not too much to ask, if you could do some quick tips/tricks or a short tutorial!! thank u and god bless
Aaah thank you! Well, first things first; learn from reference! You can google fabric reference or even just outfits and pay attention to the way the fabric swoops and curls around the form that its surrounding.

Here the fabric sweeps downwards, but comes up at a much tighter, sharper angle into his hand and bunches up within his palm. The material layers overtop of each other

This fabric is very loose and shimmery, and within the overlapping folds your shadows will be most prevalent to give it dimension of being layered.

Even with skin tight fabric there will always be creased, wrinkles, and layers where the material is pushed together. It is important to capture that! Whether the fabric is tight, or very loose. The tighter, the less wrinkle typically if it is pulled taught, while looser fabric will have more swooping lines of flow and tend to be thickly “banded” with spread out areas.

here is our mannequin torso for the purpose of visualization of the render process!

I start with the basic shape of what I want my clothes to be, and then i go from there to decide which way my fabric will be sweeping

now I block in colors, I always use a middle tone of the shade i want instead of the pure shade that I’m aiming for. The shade I’m aiming for I will use as a highlight to be where my lightsource is casting

I typically merge down at this point as I prefer to paint on one layer, and i start to blend and loosely figure out the way i’m going to further express the drape of my fabric

I refine and increase my brightness and darkness according to what i feel is needed to achieve my chosen contrast

refine, blend, and adjust as you need and to your personal preference!

that is how i usually go about painting fabric
Did a total revamp of Teru and changed up his back story. He still likes to felt animals though! Also, I just got an iPad which means TIME LAPSES YEEAAH. Takes way less steps than when I do it on my desktop.
![Robot(?) Leggings By Balenciaga. [Source]](https://64.media.tumblr.com/866ad6086243511f29ed053237711273/tumblr_mmzhe7J65h1rjgurvo1_540.jpg)
![Robot(?) Leggings By Balenciaga. [Source]](https://64.media.tumblr.com/98eca19ecc18c7cb3107797e67e17287/tumblr_mmzhe7J65h1rjgurvo5_540.jpg)
![Robot(?) Leggings By Balenciaga. [Source]](https://64.media.tumblr.com/6e1921bac17e73c7639905d8e00624bd/tumblr_mmzhe7J65h1rjgurvo3_500.jpg)
![Robot(?) Leggings By Balenciaga. [Source]](https://64.media.tumblr.com/831e8cd52fa1b1f7d901b3ec873e5394/tumblr_mmzhe7J65h1rjgurvo4_500.jpg)
How to do “extra” facial expressions!
Drawing basic facial expressions is not the hardest. Most people can draw a sad face, a happy face, angry etc., but making more multidimensional expressions is more of a challenge. I have gotten a lot of compliments on how I draw facial expressions, (specifically “angsty ones”) telling me that they are very dramatic and well… expressive! And there are actually only a few things I think about when I draw faces that take them to the next level, so I thought i’d illustrate them all here!
SUPER IMPORTANT TIP BEFORE WE START: Look at your own face when you draw faces. Even making the face when you are drawing (you don’t even have to look at it), will give you some sense of how the face muscles pull and where things fold and stretch, because you can feel it. You are the best reference when it comes to facial expressions!
Angles
Draw the head in an angle that matches the expressions you want to make. It is not a requirement, but is going to add to the effect.

Symmetry vs asymmetry
A face is rarely symmetric. Unless the face the character is making is 100 % relaxed or even dissociating, the eyebrows, mouth and facial muscles will have different placements of their respective side. This image shows the dramatic impact asymmetry has on a face:

That’s the difference between a smile and a smirk!

The first one’s like “oh yeah?” and the second is like “oH YEAH??”
The “balloon squishing principle”
This is something I did subconsciously, and I didn’t know about until I made this tutorial. And this principle goes hand in hand with an asymmetric face. Basically, if you squish one part of the face, you need to even out the empty space by “inflating” the other part of the face so that it doesn’t appear shrunken. The picture hopefully explains it:

Teeth
Don’t forget to add the gum when the mouth is open to its full potential!

Squinting and folding
Adding folds around the eyes when a character is squinting makes a HUGE difference. It makes a smile more genuine and a growl more intimidating. Adding folds to the face in general makes your characters more lifelike and ‘visually relatable’. Like, they look human, and less plastic or fake.


and so on..
Pupils and irises
The placement of the iris and pupil in relation to the eyelids is very important! The less of the white you see, the more relaxed the character is.

And then of course eyebrows and eyes go hand in hand!


Gestures, spitting, sweating…
Adding more elements than just a face is key to making the character actually look like they are feeling what you want them to feel. Just the tiniest sweat drop adds to their anxiety, spitting adds frustration to their rage, slouching shoulders, waving hands, a double chin, extreme angles, the list goes on! Add whatever and see what kind of impact it makes! Does it do the trick? Great! Add it!
Over exaggeration!!
Remember that you can almost always exaggerate more. Don’t be afraid to do draw “too much” because you’re just experimenting. See what works and what doesn’t. What do you like to exaggerate?


Now that you know some theory, it’s time to practice!
Practicing!!
The 25 Essential Expressions (a classic! I’ve done it multiple times)

And the one I do when I’m bored:
Fill a page with circles and fill them in with different expressions. Try and exaggerate as much as you can!


This is mostly for experimenting. They are quicker to draw than complete faces, but the same rules should apply!
And that’s about it!
I don’t know if I covered everything in this tutorial, since some things might be obvious for me, and this post perhaps only scratches the surface. So feel free to send me a message if you want an explanation about something more in depth! Thank you for reading! And now DRAW!!! ✨🎨
-
 hiimsuperawkwarddontmindme liked this · 10 months ago
 -
 katiewolfgirl7 liked this · 1 year ago
 -
 yeloo777 liked this · 1 year ago
 -
 artking-4 reblogged this · 1 year ago
 -
 invincibleweasel liked this · 3 years ago
 -
 iwalkedinshadows liked this · 4 years ago
 -
 maintenon liked this · 4 years ago
 -
 rachel78-99 liked this · 4 years ago
 -
 noxstud reblogged this · 5 years ago
 -
noxstud liked this · 5 years ago
-
 onlytomlinson liked this · 5 years ago
 -
 hungarianator reblogged this · 5 years ago
 -
hungarianator liked this · 5 years ago
-
 sisipinkmonsterxd reblogged this · 5 years ago
 -
sisipinkmonsterxd liked this · 5 years ago
-
 misstoodles liked this · 5 years ago
 -
 theifraccoon reblogged this · 5 years ago
 -
theifraccoon liked this · 5 years ago
-
 steph-and-ric liked this · 5 years ago
 -
 kingdilla43 liked this · 5 years ago
 -
jasontbitch liked this · 6 years ago
-
 nightwind-dragon liked this · 6 years ago
 -
crispylawyercolormonger-blog liked this · 6 years ago
-
 cordonianredruby liked this · 6 years ago
 -
 ddeys liked this · 6 years ago
 -
 khasoa liked this · 6 years ago
 -
a-quiet-artist-stash reblogged this · 6 years ago
-
 blackasterr liked this · 6 years ago
 -
 dnd-zantaras reblogged this · 6 years ago
 -
htclive liked this · 6 years ago
-
 thekingsref reblogged this · 6 years ago
 -
 sunfl0wersz liked this · 7 years ago
 -
 instantreblogblog reblogged this · 7 years ago
 -
 instantreigen liked this · 7 years ago
 -
 mercenaries-archive liked this · 7 years ago
 -
 fresians101 reblogged this · 7 years ago
 -
fresians101 liked this · 7 years ago
-
 danifandxm liked this · 7 years ago
 -
 aph-shy reblogged this · 7 years ago
 -
aph-shy liked this · 7 years ago
-
 practicenewskills reblogged this · 7 years ago
 -
 shootinthebreez liked this · 7 years ago
