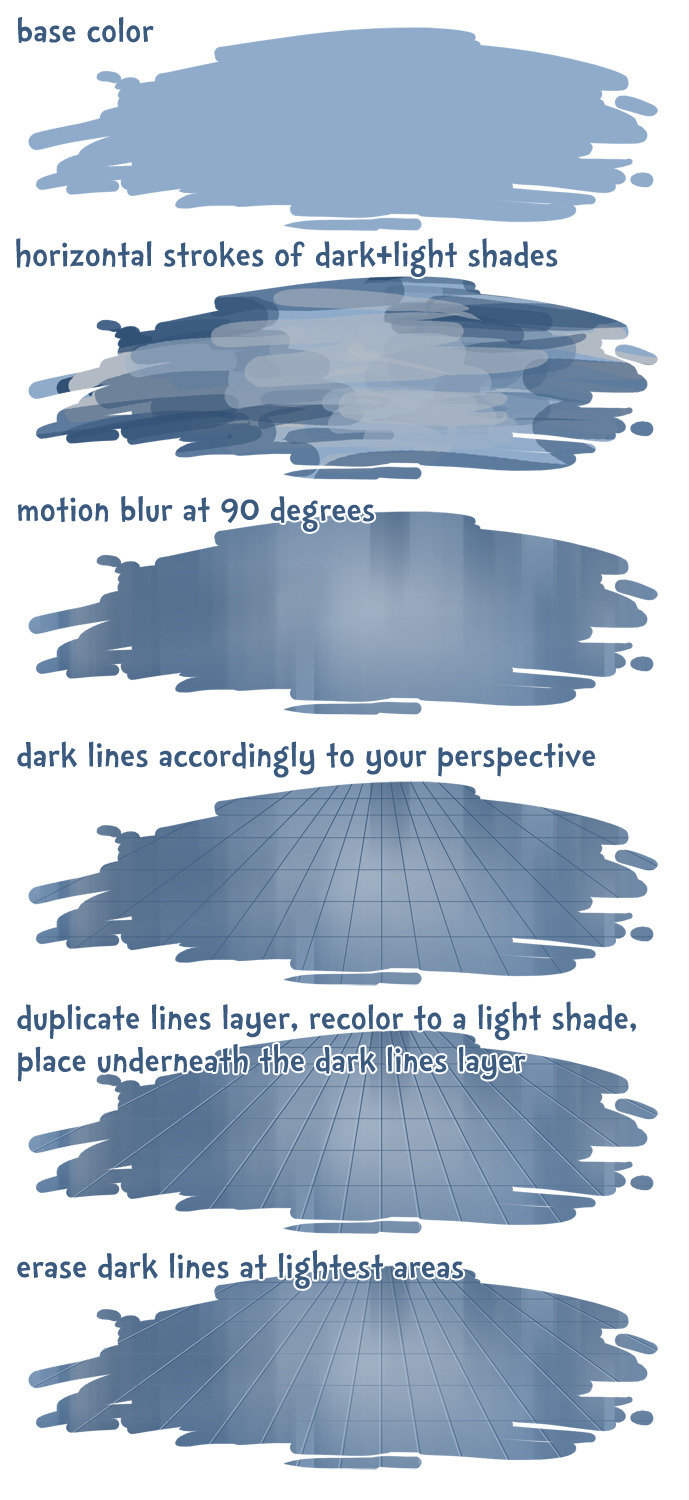
It’s Important To Think Of Ears As Having 3D Volume, And Not Just Being Flat Bits Sticking Off The


it’s important to think of ears as having 3D volume, and not just being flat bits sticking off the head. it can help to visualize ears as stretchy cups, with a rim and a base. from there you can more easily imagine how their shape distorts as they move in space.
also, don’t forget that the ridges or fur lining of an ear follows the inner curve of the ‘cup’, and can be a great way of further indicating that volume.
More Posts from Arttuti and Others
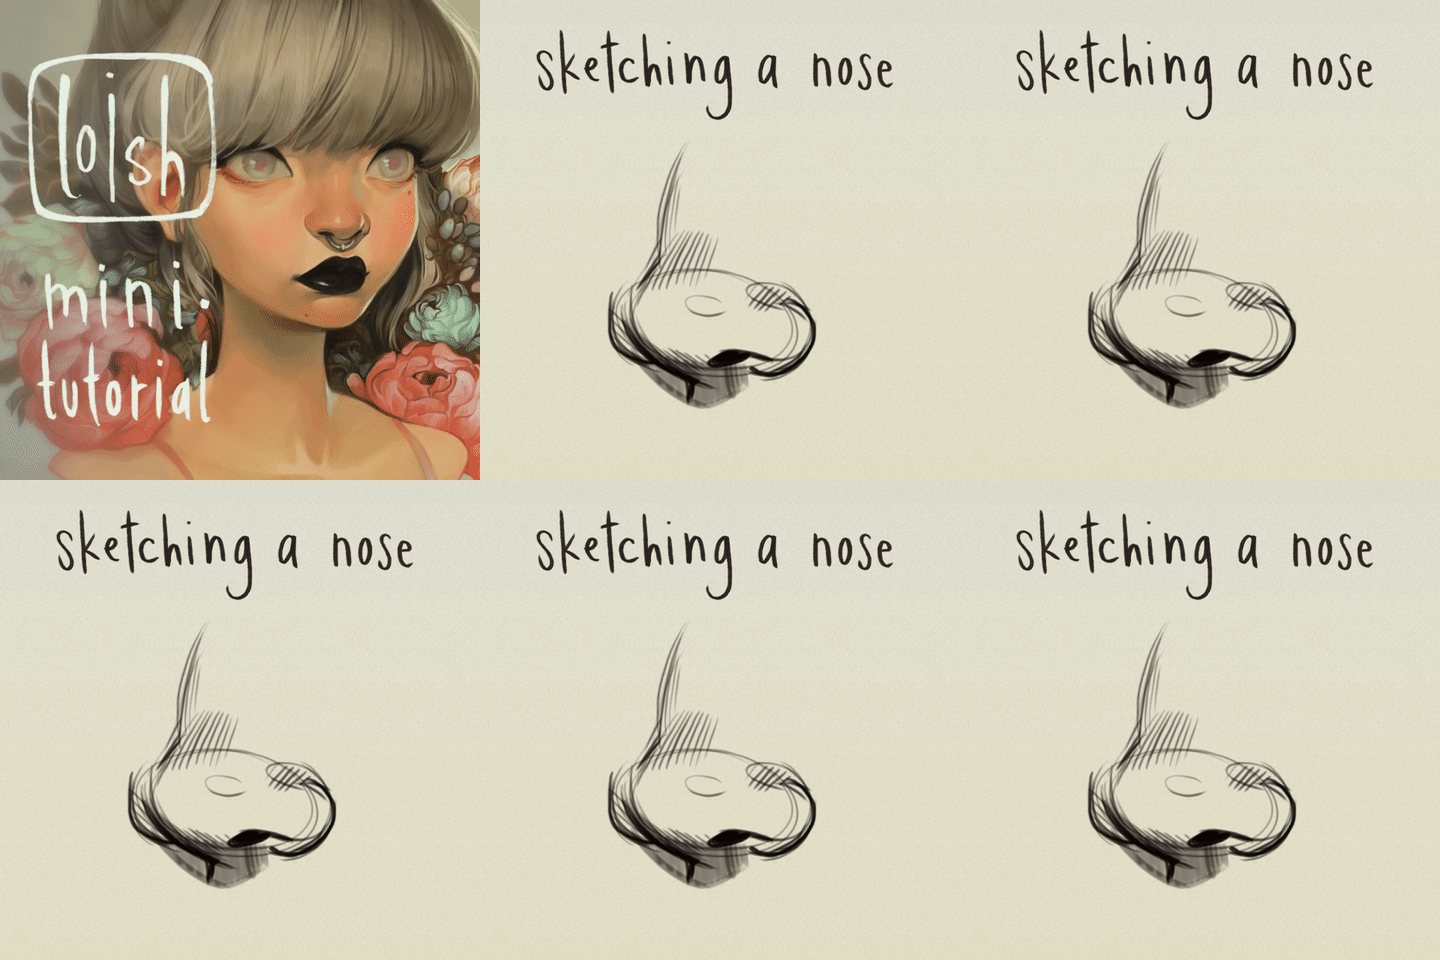

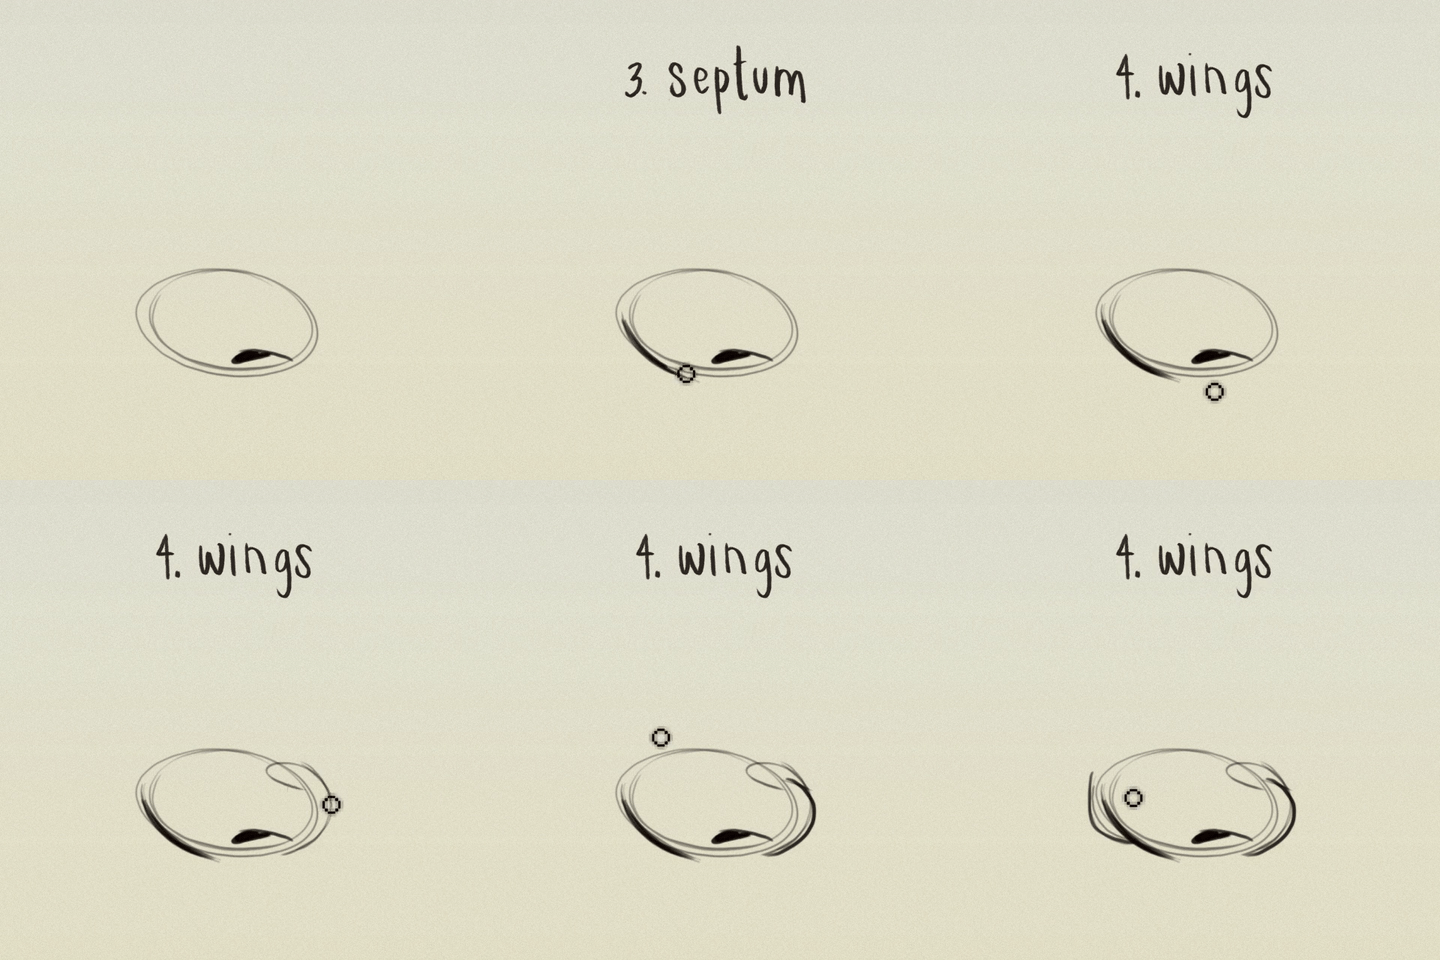
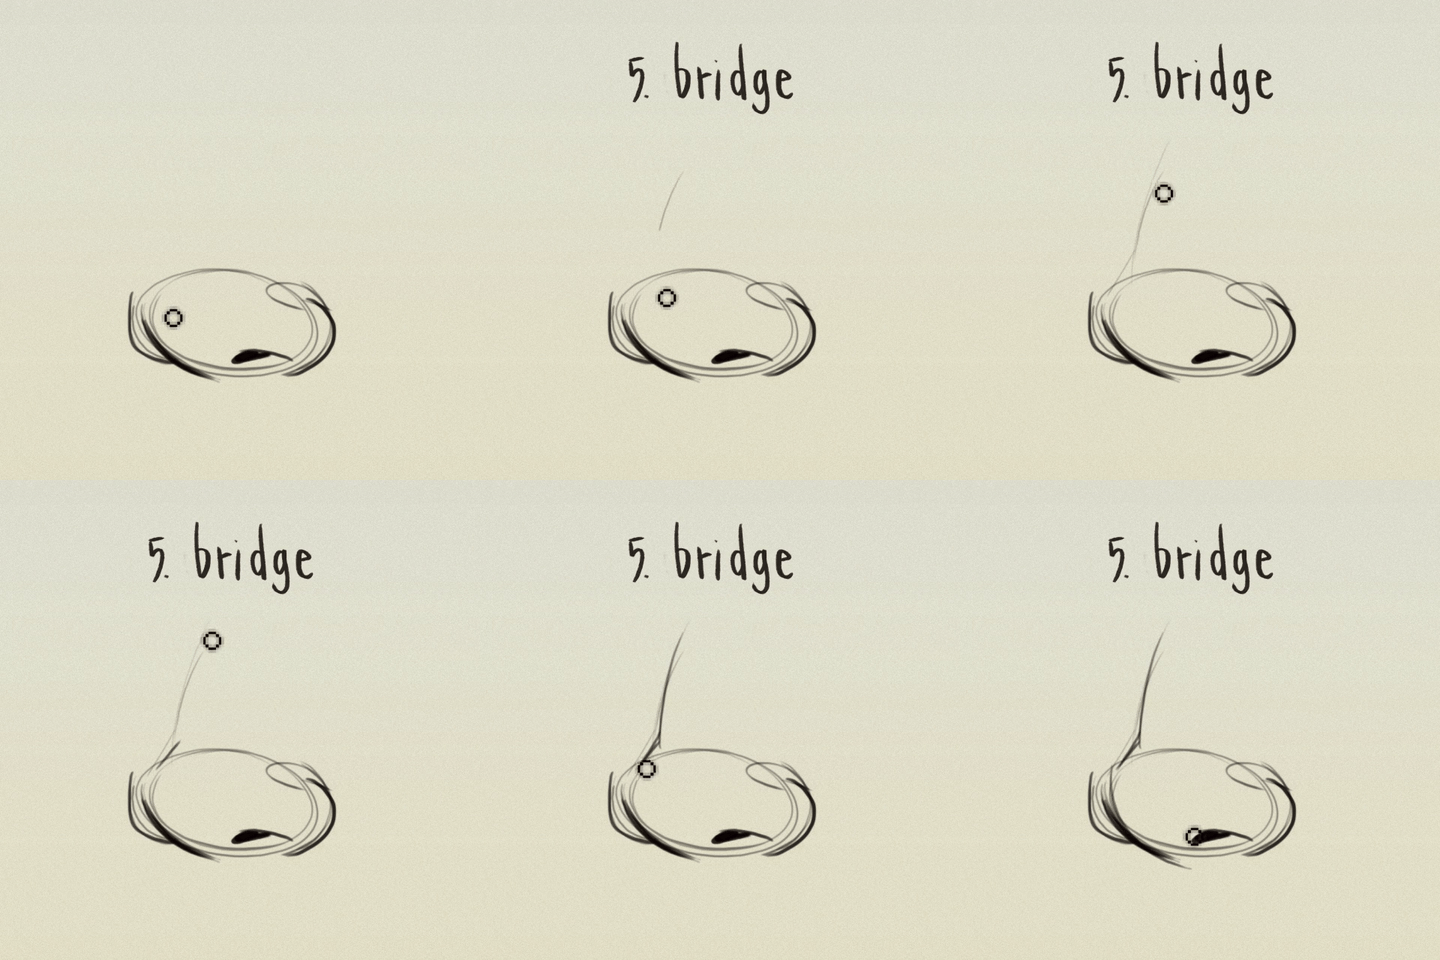
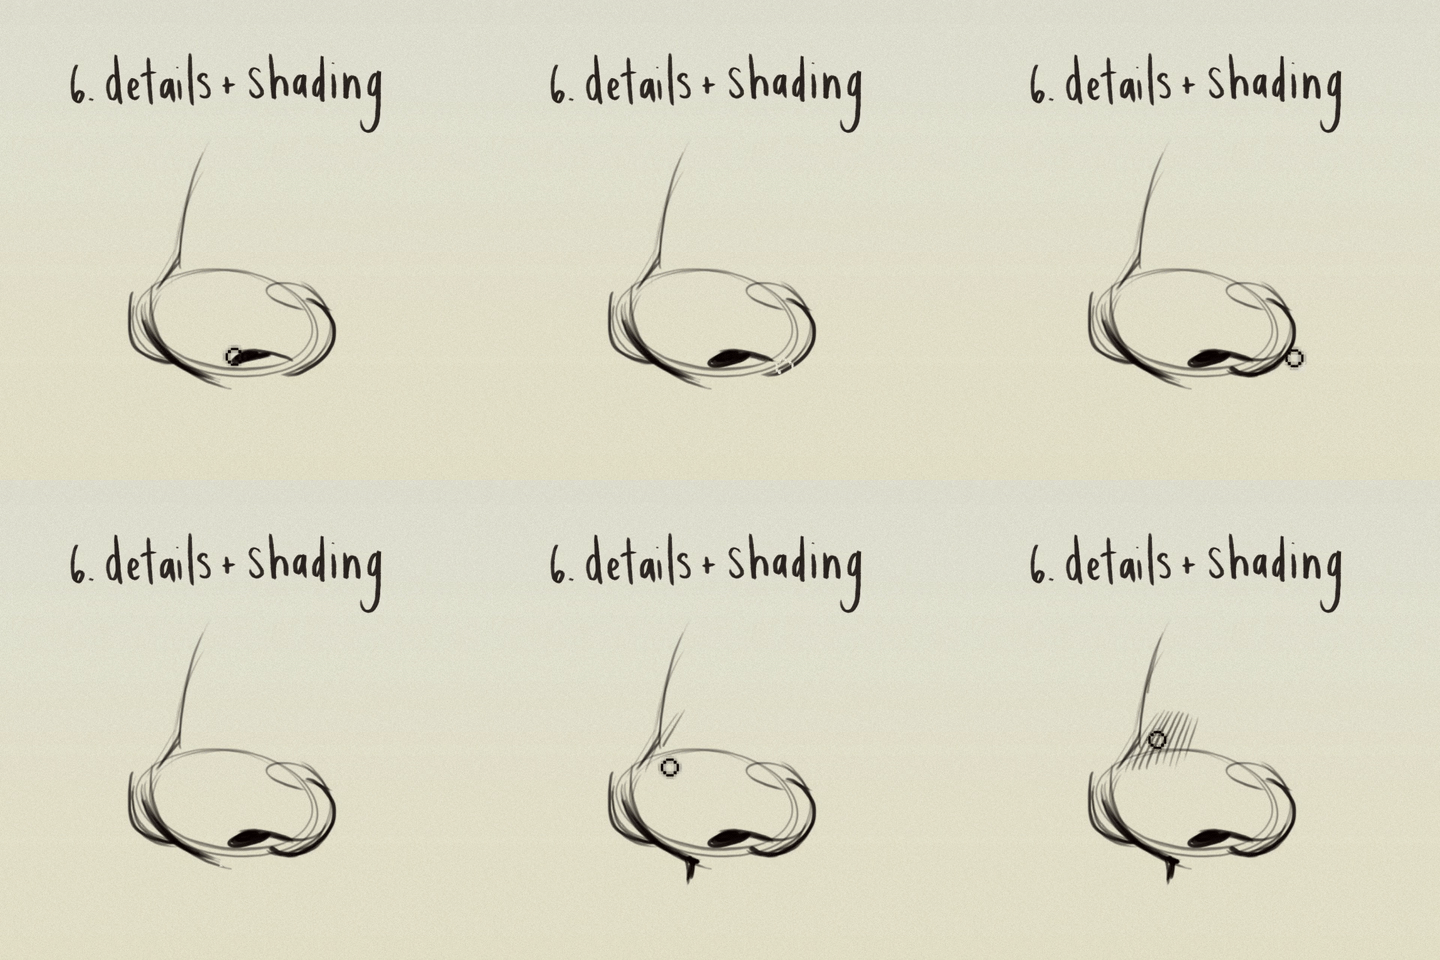

more mini tutorial gifsets :) for the video version check out https://www.instagram.com/p/BGZfej3R_OM/?taken-by=loisvb

An anon asked me for an eye tutorial 👍🏼👍🏼👍🏼
I highly recommend looking reference photos on the internet to get used to drawing different eyes, and also to take photos of yourself to get used to drawing different angles/expressions – Don’t just blindly draw the same eye over and over again, because without a strong basis of drawing by observation, you could get into some bad habits, and all your characters will look the same. :)
How to show expression with the mouth!
This was a request and at first I wasn’t sure if I had anything to provide with, but as it turn out it got a little longer than I expected because there were actually things I had to say!! Wow!!
Anyway, this is some guidelines I follow when I try to make the face expressfull, more specifically the mouth! It is often neglected, since it’s actually pretty hard, I’ll admit. But I’m here to help (hopefully…)! A mouth expression tutorial as per request. Enjoy and hopefully it will help some a little. ʕ•ᴥ•ʔ
Draw the teeth at the right angle.
This is super important. The upper jaw follows the angle of the head, and the lower jaw will depend on how open it is. Make sure you have a rough estimate of where the teeth are, and how much of them you’re going to see!
The lips will VERY roughly follow the same angle as the teeth. It really depends on the character, but it gives you a sense at least.

If you DON’T do this, you’re going to lose so much volume and the mouth is going to end up looking unrelatable. I showed this example in this tutorial:

It’s not just the lips!
The cheeks, chin, and tongue play a role too!

Try look at your own mouth or references! I have a very pliable and large mouth, so that’s one reason why my characters have it too lmao.
ASYMMETRYYYYY (ง ͠° ͟ل͜ ͡°)ง
I cannot emphasize how important asymmetry is when drawing expressions. It applies not only to the eyebrows to achieve the Dreamwork Face™, but also the mouth. Seriously if you draw a symmetric mouth I will deliver myself to your mailbox and then shout at you until you fix it.
Look at the difference between these two for example: which one has more “life”?

I think you get the idea.
Push and squish - give it flow
Here’s an old drawing I have but it illustrates how I think when I squish the mouth, and use folding and wrinkles to my advantage.

Look at your own face and see where skin bundles up, where it creases the most and when bumps appear on your chin. Subtle details makes all the difference!
One VERY effective detail is illustrated in the first sketch, where I pull upwards on one side, and downwards on the other. That’s a good detail to use when the character is making a skewed expression, or is extremely frustrated. I encourage you to play around with that concept bc it’s ~super effective~!
EXAMPLES:
Happy: Your entire mouth is pushed upwards, not just the corners of your mouth!

I tend to draw a :3 mouth bc I’ve been drawing Lance too much….. You don’t have to but it’s basically imprinted in my motor memory by now.
Pouting/frowning: corners are pushed down, middle pushed slightly up. Sometimes, there’s a slight dip in the middle too. It can give a sense that the character is biting their lips.

Showing frustration/intimidating/is intimidated: basically showing a lot of teeth. The corners are as open as possible and the middle sorta more squished. An extremely important detail here is showing some of the gums, and open space between the cheeks and teeth. That way it looks like the mouth it open to it’s full potential. Here is also where you basically MUST add folds and bumps, or else it’s not going to look relatable.

(Here I am again with the pulling upwards on one side and downwards on the other, as illustrated on the last sketch)
And then again, here’s just another doodle showing how important it is to show the gums. It’s the same face twice, but the second one looks slightly more frustrated doesn’t it?

(from my other tutorial on how to draw facial expressions)
As you can see, this last one is very versatile and I draw it a lot. Play around with the basic shape and see how much subtle details makes a lot of difference!
That’s it!
I hope that cleared some things up and was somewhat helpful! Enjoy drawing ✨


Need a bigger serving of practice? Check out the 19-paged worksheet and .psd practice file!
The difference between a beginner’s comic and an experienced artist’s comic comes down to the details, and one of the biggest “invisible” details is proportion.
How does an artist utilize page and panel layout, negative space, word balloons and composition to their best advantage? This Shingworks tutorial covers all of this information, and the 19-page supplement worksheet and comic proportion analysis template .psd takes it a step further and teaches you how to analyze real comics so that you can apply these principles to your own comics :]
My Patreon tutorials are unlocked to the public 6 months after their original publication month. You can find the full high-resolution archive of monthly tutorials at my Patreon! Thanks again to my Patrons for supporting me in the creation of my own comics, The Meek and Mare Internum.
My recent free-to-read tutorials on Tumblr:
Worldbuilding!
Understanding Patreon & Building A Patreon
Grow Your Brand
Acting for Comics
Researching for Comics
Writing for Webcomics
Coloring with Masks
This month’s Patreon tutorial: Webcomics 101
And as usual, thanks very much for not deleting my text~~
Can you make like a little color picking tutorial, my drawings always look so out of place when i color them >.<
Okay so this is probably not the best coloring tutorial and I’m sorry ahead of time because I’m not the best at explaining colors nor am I any expert lol. I don’t actually use color palettes but I highly recommend them, esp to keep a whole artwork consistent with color schemes. You can easily just google “aesthetic color palettes” or “90′s anime color palettes” which is my go to types of colors heh.
Anyway, I made an explanation/tutorial on how I usually achieve the colors on my art. There are plenty of other ways but this is some basics on filtering.


And after that, if I’m not satisfied with the colors I just go to Filter -> and adjust the Hue of the opacity or the multiply layer.
Once I’m satisfied, I just merge all the layers and clean the art up, sometimes I add even more colors and blend them. (This probably deserves an explanation on it’s own but I wouldn’t mind explaining how I paint! ><)
And here’s somewhat of the finished art lol;;; (sweats)

-
 anakinskywalkerisfave reblogged this · 1 month ago
 -
 alsartnook liked this · 1 month ago
 -
 vespurred liked this · 1 month ago
 -
 cricketsong87 liked this · 1 month ago
 -
 you-are-in-imminent-peril liked this · 1 month ago
 -
 shroomkore liked this · 1 month ago
 -
 shroomkore reblogged this · 1 month ago
 -
 yourbesttrashcan reblogged this · 1 month ago
 -
 silverprism-s reblogged this · 2 months ago
 -
 silverprism-s liked this · 2 months ago
 -
 nezjazz reblogged this · 2 months ago
 -
 tophatsquid reblogged this · 3 months ago
 -
 alba-nighterror reblogged this · 3 months ago
 -
 alba-nighterror liked this · 3 months ago
 -
 lnlsartblogthingy liked this · 3 months ago
 -
 mvngojerrie liked this · 3 months ago
 -
 everyartreferencepostilleverneed reblogged this · 3 months ago
 -
 sararini liked this · 3 months ago
 -
 lily-poppie liked this · 3 months ago
 -
 pink-kitty-kela reblogged this · 3 months ago
 -
 6w6drawlings9w9 reblogged this · 4 months ago
 -
 vetinarihavelock reblogged this · 4 months ago
 -
 lolita7d liked this · 5 months ago
 -
 beigetiger liked this · 5 months ago
 -
 mrghostc4t liked this · 5 months ago
 -
 t-t-tau-me liked this · 7 months ago
 -
 whatuseen liked this · 7 months ago
 -
 rosariance liked this · 7 months ago
 -
 thusgalanthus reblogged this · 7 months ago
 -
 noha-ahbel liked this · 7 months ago
 -
 ajidhaka reblogged this · 7 months ago
 -
 sciencesartlab reblogged this · 8 months ago
 -
 memento-mori-twilight reblogged this · 8 months ago
 -
 thebinibelongin reblogged this · 8 months ago
 -
 cynicalrosebud liked this · 8 months ago
 -
 ami-kaaa reblogged this · 8 months ago
 -
 sironasirona liked this · 8 months ago
 -
 haivatiy liked this · 8 months ago
 -
 flora-tea liked this · 8 months ago
 -
 classifiedprojectciel liked this · 8 months ago
 -
 galimation liked this · 8 months ago
 -
 satyromanicum liked this · 8 months ago
 -
 cloud-the-forgotten reblogged this · 8 months ago
 -
 lopstrosity reblogged this · 8 months ago
 -
 asidewalksymphony reblogged this · 8 months ago
 -
 asidewalksymphony liked this · 8 months ago
 -
 skoomapipe reblogged this · 8 months ago
 -
 twadi-gurl reblogged this · 8 months ago


