Reading "The Great Gatsby" Today. It Has Me Very Intrigued.

Reading "The Great Gatsby" today. It has me very intrigued.
More Posts from Daisy-zam and Others
I think anyone just moving out wants this aesthetic
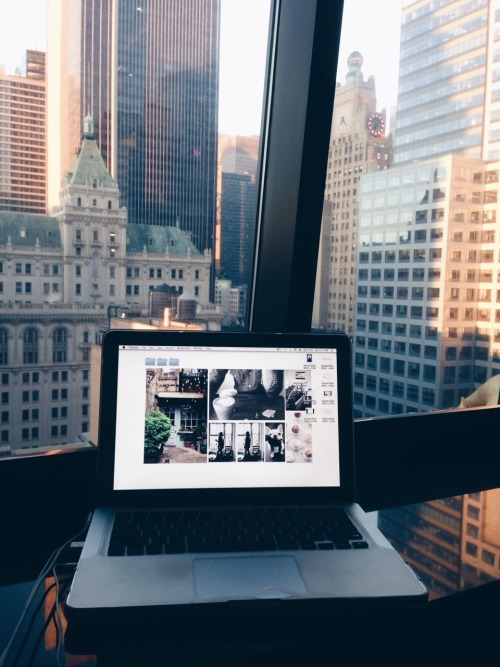
New York workspaces

Hey, there! Someone recently asked me, “How do you make a moodboard?” It’s a tough question to answer, actually, because I wasn’t sure if the person meant conceptually (the process of conceiving one) or technically (the process of putting it together on a computer). So, I thought I’d make a masterpost covering both, as well as some tips on aesthetics.
Step 1: Conceiving of your moodboard
Sometimes people will make requests, and half the work will be done for you. They’ll request “Hufflepuff, doodles, tea, INFP, Virgo, travel” and you’ll know that these are themes/motifs/images that you should try to include. Alternately, you may have a more general feeling that you are trying to evoke through images: melancholy, for example. You may also have a specific aesthetic that you’re trying to achieve. ~Aesthetic~ is a tricky word and can mean several different things in varying contexts. “Brooding sad girl lyfe” could be an aesthetic, a cohesive visual goal. In this case, all the components of the moodboard would be contributing to this notion of a brooding sad girl and her lyfe.
Step 2: Finding pictures
Once you have an idea of where you want to go with your moodboard, it’s time to hunt for images! I like to surf the tags on Tumblr, and if I can’t find something that suits my needs there, I’ll turn to Google images. Remember to keep track of where you find your pics so you can give credit later (or even better: ask permission to use them).
Step 3: Making the thing
You can compose a moodboard by simply uploading photos to Tumblr and moving them around, or you could use graphic design software. I like to use Canva because it’s easy and free. It also allows you to save the moodboard as a single image. I’ll briefly go through making a moodboard with Canva.
First choose a size by clicking “Use Custom Dimensions”: 900 x 900 pixels is standard for square moodboards. You can also set the size using inches instead of pixels.

Then you choose a layout from the lefthand menu.

Next, load your pictures by clicking “Upload” in the lefthand menu. Once they’re uploaded, you can begin dragging them over to the cells. Double clicking a picture allows you to adjust its positioning in the cell.

When positioning the photos, I always like to keep in mind balance: of light and dark, of colors, of subject matter. I wouldn’t want two pictures of teacups next to each other. I wouldn’t want two pictures of text next to each other either. Balance is key. Glancing over it quickly, you should get a sense of a flow of images, with nothing too jarring or standing out. This will make for a cohesive moodboard.

My personal style is a little busier than most, meaning the images are more crowded and cramped. I find this gives the moodboard more texture and makes it more visually interesting. This is just my opinion. I still find minimal moodboards to be beautiful, too.
Step 4: Posting the thing
Always give credit where and when you can. And the more credit you give the better: if you know the photographer’s name–awesome! If not, then the blog where you found it should suffice. Some people believe you should ask permission before posting a photo to a moodboard, but often this won’t work in the interest of time. It’s actually a little bit of a controversial subject; many people practice crediting in different ways. This is just my suggestion. I also usually offer to take down a photo if the owner objects. I used all my own images for this masterpost and blurred out others to save myself the trouble :) You really should credit the owners, though.
I hope this was helpful. Message me with any questions or feel free to add on!


See me letter the headers in this video!
You can change the color of the banners in Photoshop - these are editable PDFs.
See all subject options & download here


Free DIY Flashcards Printable Pack
I’ve been meaning to organise these for aaaages but thought I’d finally spend the time on them :-) These flashcards are DIY - so you double-side print them so they line up, then cut them out to use! If you struggle to align them you can stick two pages together instead. You can also scale them up or down to bigger or smaller sizes. I also added in some front covers to help organise them! Hope they’re useful :-)
Free download link is below:
DIY Flashcard folder on Google Drive (also added in dotted versions!)
Other free printables you might like: 2018-19 yearly printables, Back to School Student Pack, 2018 Monthly Printables, Weekly Study Schedule, Week at a Glance, Exam Pack, and Notetaking Printables :-)
I hope you enjoy using and customising these printables! If you upload a photo featuring it, I’d love to see. Please tag me on Tumblr with #emmastudies or on Instagram with @emmastudiess. You can see other people using my printables by visiting the #esprintables tag on my blog!
If you want to find more organisational printables and support me, please check out my Etsy shop with lots of downloads dedicated to students. You can use ‘student10′ to get 10% off any purchase! :-)
Other posts | Printables | Instagram | Youtube | Pinterest | Etsy Shop
I’ve always liked quiet people: You never know if they’re dancing in a daydream or if they’re carrying the weight of the world.
John Green, Looking for Alaska (via theliteraryjournals)
*please, reblog if u’re a studyblr*
i’m new here and need a lot of blogs to follow (・w・)also if you talk to me i’ll be really happy (i’m a shy kid)
Books are the quietest and most constant of friends; they are the most accessible and wisest of counselors, and the most patient of teachers.
Charles William Eliot (via bookmania)


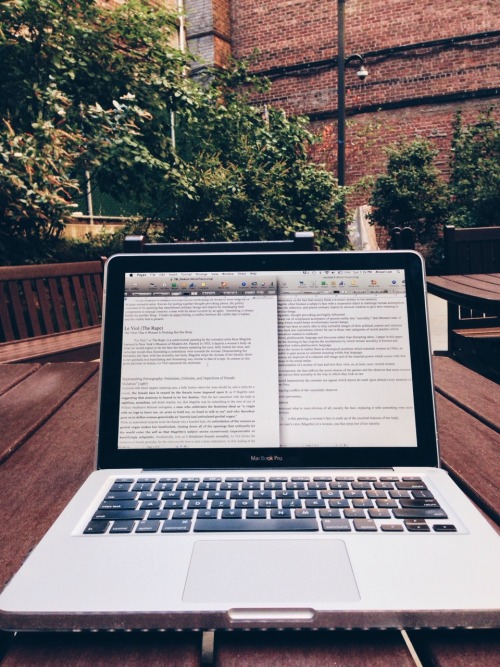
01.17.2018
Study set up for today! Studied for an exam I have tomorrow. I am enjoying having my notes on Pages, far quicker, convenient, and efficient. I can go back to add or change things, I have all of my module assignments and study material in the same document.
-
 ashleighhannahmann-blog reblogged this · 7 years ago
 -
 solving-equations liked this · 7 years ago
 -
 harpstudies reblogged this · 7 years ago
 -
 daisyz-studies reblogged this · 7 years ago
 -
 daisy-zam reblogged this · 7 years ago